Introduction:
Did you know that 92% of photos taken worldwide are now captured on smartphones? Yet lighting remains the biggest challenge for mobile photographers! I’ve spent years mastering phone photography, and I can tell you that understanding lighting is the secret sauce that separates amateur shots from professional-looking images. From golden hour magic to creative artificial lighting setups, this guide will transform how you approach smartphone photography. Get ready to elevate your photo game!
Table of Contents
Understanding Natural Light for Smartphone Photography
Key Concepts:
- Natural light is the foundation of all photography – even smartphones need to understand the basics first!
- Direct sunlight vs. diffused light: How your phone camera interprets each
- Direction of light: front lighting, side lighting, back lighting effects
- Quality of light: hard vs. soft light and when to use each

Time of Day:
- Golden hour (first and last hour of sunlight): Perfect for warm, flattering photos
- Blue hour (just before sunrise/after sunset): Ideal for moody, atmospheric shots
- Midday sun: How to handle harsh overhead lighting
- Overcast conditions: Nature’s softbox – perfect for portraits
Positioning Techniques:
- Finding open shade for even lighting
- Using buildings and natural structures as light modifiers
- Subject placement relative to the sun
- How to recognize good natural light with simple observation tricks
Weather Considerations:
- Cloudy days: Perfect diffusion for portraits and landscapes
- Sunny days: Managing contrast and harsh shadows
- Rainy days: Using wet surfaces for creative reflections
- Foggy conditions: Creating atmospheric shots
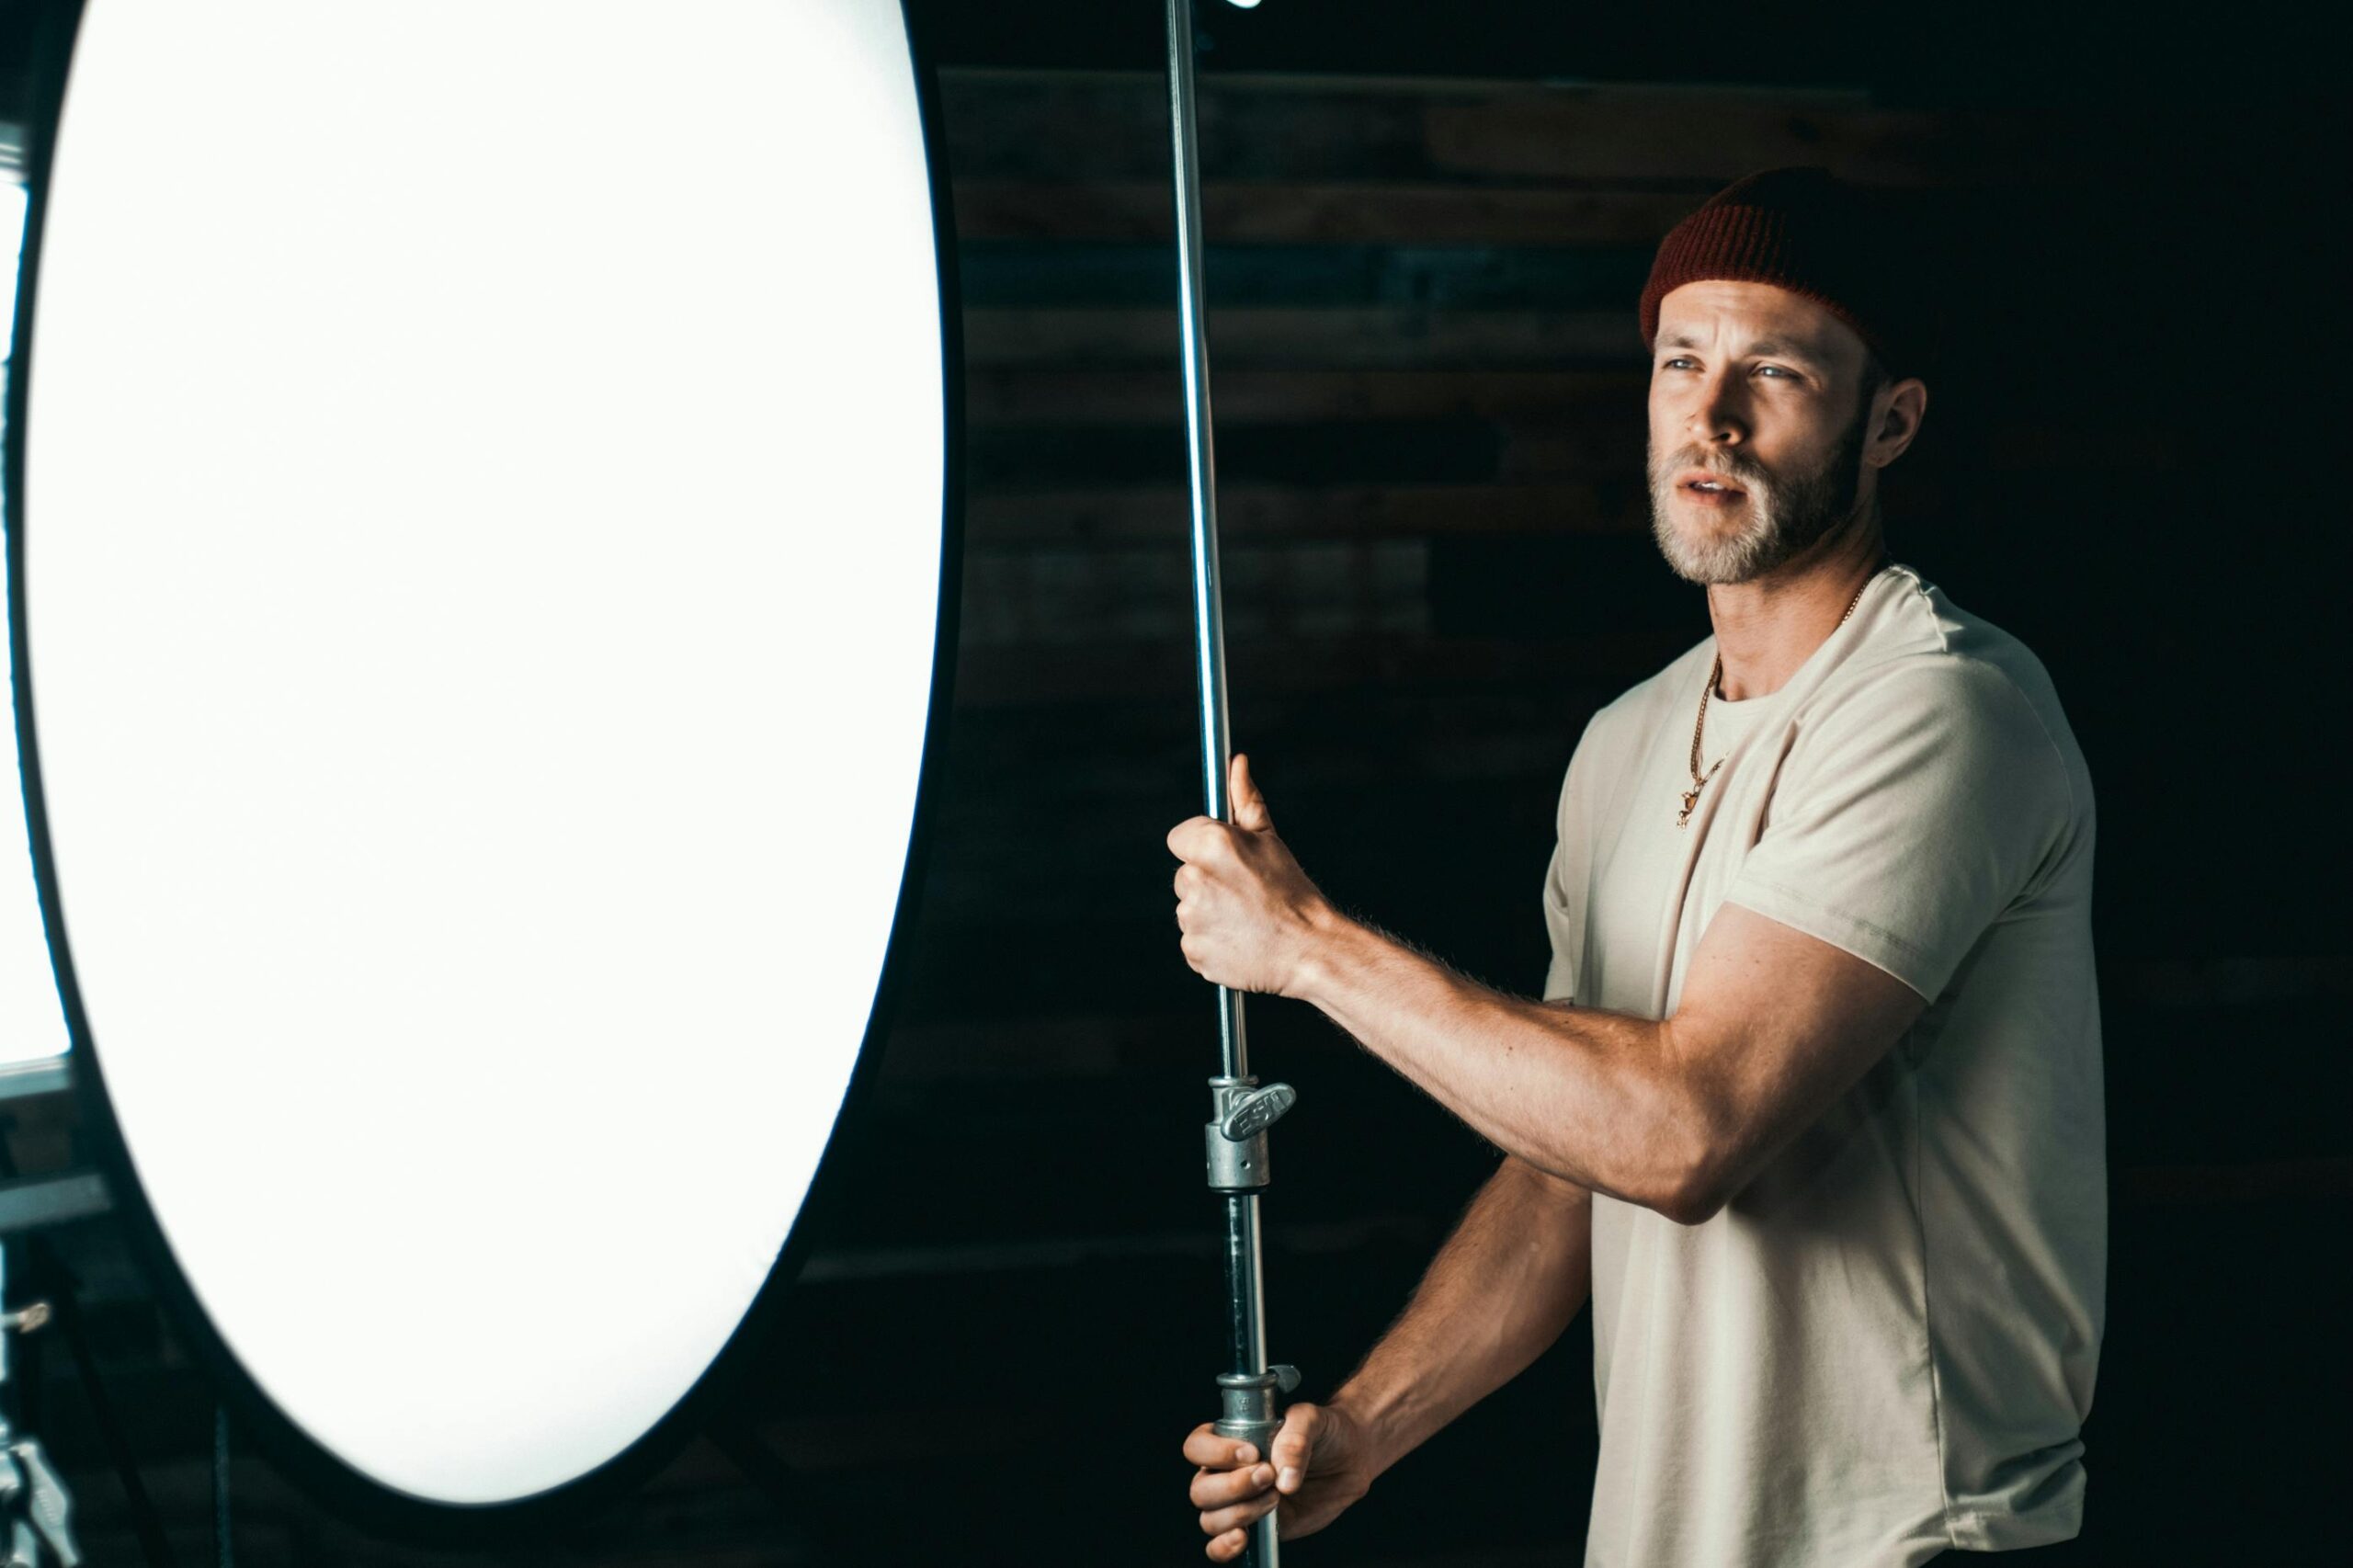
Essential Lighting Equipment for Phone Photography
Basic Equipment:
- Phone ring lights: Types, sizes, and best uses
- LED panel lights: Portable options for different budgets
- Reflectors: Collapsible options for on-the-go photography
- Diffusers: Portable solutions for softer light
Must-Have Tools:
- Ring light features to look for:
- Color temperature adjustment
- Brightness control
- Battery life
- Mounting options
- LED panel characteristics:
- CRI (Color Rendering Index)
- Power options
- Portability
- Durability
Budget Solutions (Under $50):
- DIY reflectors using household items
- Affordable LED options that actually work
- Creative use of white cards and foam board
- Budget-friendly diffusion materials
Professional Gear:
- Professional-grade mobile lighting kits
- Advanced ring light systems with remote control
- Multi-light setups for studio-like results
- Premium diffusion and modification tools
Indoor Lighting Techniques and Solutions

Window Light Mastery:
Window light is the secret weapon in every smartphone photographer’s arsenal – and best of all, it’s completely free! Think of your window as a giant softbox that’s perfect for everything from stunning portraits to mouthwatering food photos. I’ve found that north-facing windows provide the most consistent, diffused light throughout the day, while south-facing windows deliver dramatic, directional beams that can create stunning contrast.
Position your subject 3-5 feet away from a large window for that perfect balance of soft light and natural shadow detail – any closer and you’ll get harsh contrast, any further and you’ll lose that beautiful dimensional lighting. Time of day is crucial: early morning and late afternoon deliver warm, golden tones, while midday offers clean, neutral light that’s perfect for product shots.
On bright days, try hanging a white sheet or semi-transparent curtain to diffuse harsh sunlight – this creates a beautifully soft, wraparound light that’s especially flattering for portraits. For extra control, use a white foam board or reflector on the shadow side to bounce light back and fill in dark areas. Remember that overcast days are actually perfect for window light photography – the clouds act as a giant diffuser, creating even, flattering light that’s ideal for close-up shots and detailed work!
Room Lighting Strategy:
- Identifying good and bad artificial light sources
- Dealing with mixed lighting temperatures
- Managing overhead lighting
- Using corners and walls for light control
Creating a Home Studio:
- Minimal space setup requirements
- Best room colors for photography
- Controlling ambient light
- Creating dedicated shooting spaces
Common Problems and Solutions:
- Yellow cast from artificial lights
- Harsh shadows from ceiling lights
- Limited space challenges
- Mixed lighting temperature fixes
Advanced Lighting Techniques for Smartphone Photos
HDR and Exposure Mastery:
The key to professional-looking smartphone photos often lies in understanding the power of HDR (High Dynamic Range) and exposure control. Your phone’s HDR mode works like a mini lighting assistant, capturing multiple exposures to balance tricky lighting situations. But here’s the thing – it’s not always your best choice! Use HDR when:
- Shooting landscapes with bright skies and darker foregrounds
- Capturing backlit subjects without losing detail
- Photographing high-contrast scenes with deep shadows
- Taking photos in dappled light conditions
However, avoid HDR for:
- Moving subjects (you’ll get ghost images)
- Scenes where you want dramatic shadows
- Low-light situations where you need sharpness
- Photos where you want intentional silhouettes
Creative Lighting Effects:
Let’s dive into some exciting techniques that’ll make your photos stand out! Light painting has become incredibly popular, and your smartphone is perfect for it. Here’s how to nail it:
Light Painting Setup:
- Find a completely dark location
- Use manual mode or a night mode app
- Set your phone on a stable surface or tripod
- Choose your light source (LED flashlight, wire wool, or even glow sticks)
- Use 3-10 second exposures for best results
For dramatic light trails:
- Start with car headlights (easiest)
- Move to handheld lights (more control)
- Try steel wool spinning (advanced)
- Experiment with different colored lights
- Combine multiple light sources
Portrait Lighting Patterns:
Understanding classic portrait lighting patterns can transform your smartphone portraits from amateur to professional. Here’s how to recreate them:
Rembrandt Lighting:
- Position subject 45 degrees to window/light source
- Look for the triangular light patch on the shadowed cheek
- Keep subject’s near eye in light
- Use reflector on shadow side for fill
- Great for dramatic headshots
Butterfly Lighting:
- Light source directly above and in front of subject
- Look for butterfly-shaped shadow under nose
- Perfect for beauty and glamour shots
- Use reflector below face to soften shadows
- Ideal for symmetrical faces
Split Lighting:
- Position light 90 degrees to subject’s face
- Half the face in light, half in shadow
- Creates dramatic, moody portraits
- Great for male subjects
- Perfect for artistic black and white shots
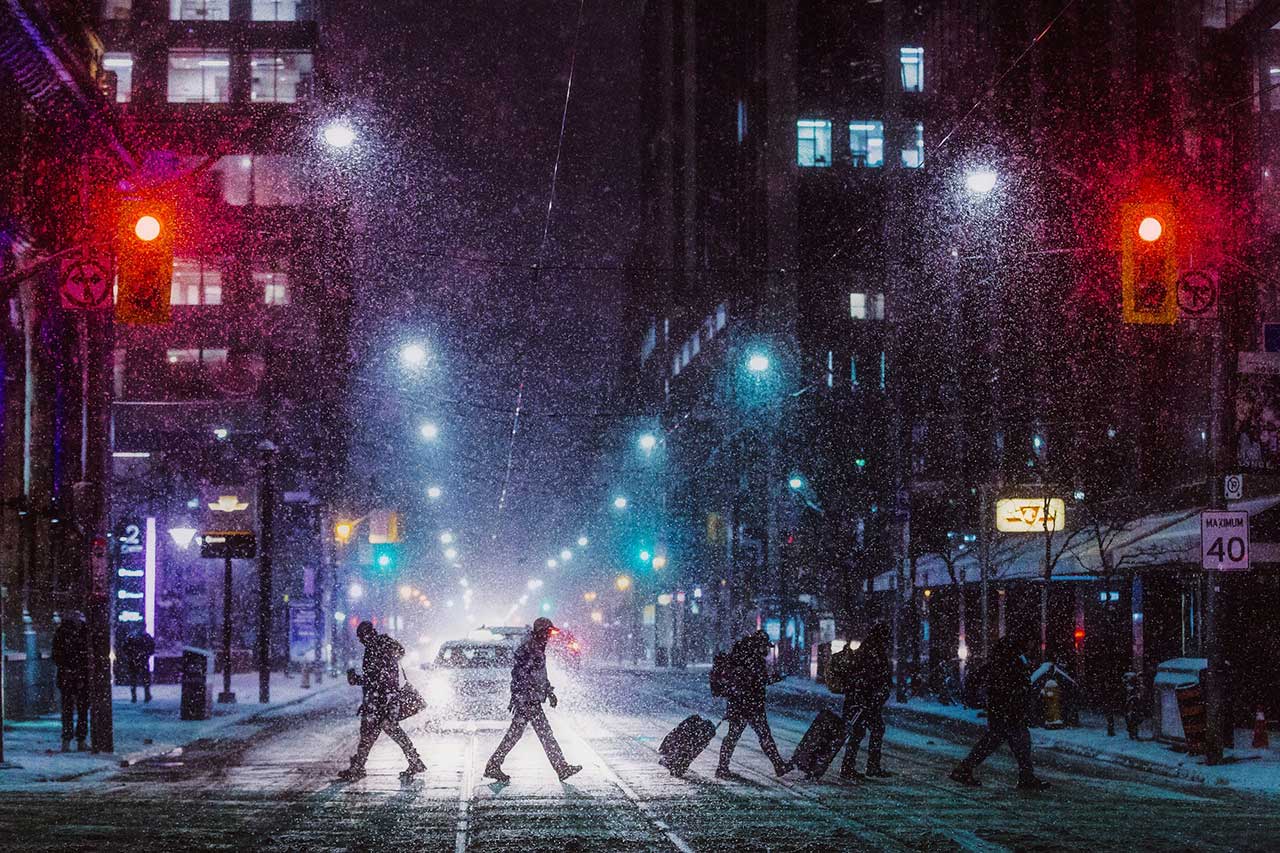
Night Photography Special Techniques: Night photography used to be impossible with phones, but not anymore! Here’s how to capture stunning night shots:
Low Light Techniques:
- Use Night mode if your phone has it
- Stabilize your phone (tripod or solid surface)
- Use manual settings if available:
- ISO: Start at 400-800
- Shutter speed: 1/15 or slower
- Focus: Manual focus on main light sources
- Experiment with exposure compensation
- Look for interesting light sources in the scene
Pro Tips for Night Shots:
- Use leading lines of street lights
- Capture city reflections in water
- Frame neon signs creatively
- Include illuminated buildings
- Play with car light trails

Product Photography Lighting: Product photography requires precision lighting for professional results. Here’s how to achieve it:
Basic Setup:
- Choose main light source (window or LED)
- Use white card reflectors for fill
- Create a simple light box or backdrop
- Control unwanted reflections
- Maintain consistent lighting angle
Advanced Techniques:
- Use multiple light sources for dimension
- Create subtle gradient backgrounds
- Eliminate unwanted shadows
- Capture highlight details
- Show product texture through lighting
Before wrapping up this section, remember that these advanced techniques require practice. Don’t get discouraged if your first attempts aren’t perfect! Start with one technique and master it before moving to the next. The key is understanding how your phone’s camera responds to different lighting situations and learning to control them.
Quick Reference Checklist for Success:
- ✓ Always check your phone’s exposure before shooting
- ✓ Keep your lens clean for sharper results
- ✓ Use the AE/AF lock for consistent exposure
- ✓ Practice with one technique until mastered
- ✓ Take test shots to verify lighting setup
- ✓ Save your favorite settings for future use
Remember, great smartphone photography isn’t about having the latest phone – it’s about understanding and controlling light. These techniques will help you create professional-looking images regardless of your device!
Post-Processing and Lighting Adjustments
Let’s dive into the world of post-processing! While great lighting starts in-camera, knowing how to enhance and fix lighting issues in post can take your smartphone photos from good to spectacular.
Essential Apps for Light Editing:
Snapseed (Free, Beginner-Friendly):
- Selective adjustments tool for precise lighting control
- Curves tool for fine-tuning contrast
- HDR Scape for balancing difficult lighting
- Healing tool for removing light spots or flares
- Drama filter for enhancing lighting mood Pro Tip: Start with the “Tune Image” tool – it’s your best friend for quick lighting fixes!
Lightroom Mobile (Freemium, Advanced):
- Advanced curve adjustments
- Color grading through split toning
- Local adjustment brushes
- RAW file editing capability
- Preset creation for consistent editing Best Feature: The “Color Mix” tool lets you adjust luminance of specific colors – perfect for sky enhancement!
VSCO (Freemium, Artistic):
- Film-inspired lighting effects
- Subtle color temperature adjustments
- Highlight and shadow recovery
- Skin tone adjustments
- Film grain for artistic effect
Basic Lighting Adjustments (Step-by-Step Guide):
- Start with global exposure adjustment
- Check histogram for clipping
- Recover highlights (usually -10 to -30)
- Lift shadows (usually +10 to +20)
- Fine-tune contrast
- Add slight clarity (+5 to +15)
Color Temperature Workflow:
- Assess the overall mood
- Adjust white balance first
- Fine-tune temperature (warmer/cooler)
- Adjust tint for skin tone accuracy
- Use selective editing for mixed lighting Pro Tip: When adjusting white balance, check skin tones and white objects as reference points!
Advanced Editing Techniques:
Local Adjustments: Think of these as your digital lighting tools after the fact:
- Use radial gradients for vignetting
- Apply linear gradients for sky exposure
- Paint with adjustment brush for dodging/burning
- Create light rays or beams
- Enhance natural light direction
Color Correction Mastery:
- Remove color casts from mixed lighting
- Balance window light with indoor lighting
- Correct skin tones in difficult lighting
- Enhance golden hour warmth
- Create mood through split-toning
Creative Effects:
- High-key lighting effect
- Low-key dramatic looks
- Cross-processed color effects
- Cinematic color grading
- Light leak effects
Preserving Image Quality:
Critical Settings:
- Export at maximum resolution
- Keep compression minimal (quality 90-100)
- Use appropriate sharpening (25-35)
- Avoid over-saturation
- Watch for noise in dark areas
Common Mistakes to Avoid: ❌ Over-brightening shadows (causes noise) ❌ Blowing out highlights completely ❌ Excessive clarity/texture ❌ Heavy-handed HDR effects ❌ Unrealistic color adjustments
Pro Tips for Natural-Looking Results:
The 80% Rule:
- Make your adjustment
- Reduce it by 20%
- Step away for 5 minutes
- Come back with fresh eyes
- Adjust if needed
Check Your Edit On
- Different screens
- Various brightness settings
- Both warm and cool displays
- Different times of day
- Multiple devices if possible
CriticalAreas to Review:
- Skin tones
- Sky colors
- White/black points
- Shadow detail
- Highlight retention
Saving and Organization:
Create an Editing Workflow:
- Sort photos into categories
- Apply basic adjustments
- Fine-tune individual images
- Save multiple versions
- Create presets for consistency
Export Settings for Different Uses:
- Social Media: 2048px long edge
- Printing: Full resolution
- Web: 1920px wide
- Instagram: 1080px square
- Stories: 1920x1080px
Remember:
The goal of post-processing isn’t to “fix” bad photos – it’s to enhance the natural beauty of well-shot images. Start with good lighting techniques in-camera, then use these editing tools to refine and perfect your vision. A subtle touch often yields the most professional results!
Quick Editing Checklist: ✓ Check exposure histogram ✓ Adjust white balance ✓ Recover highlights/shadows ✓ Fine-tune contrast ✓ Apply local adjustments ✓ Review on multiple devices ✓ Save appropriate versions
Conclusion:
Mastering smartphone photography lighting doesn’t require expensive gear – it’s all about understanding and working with light effectively! Whether you’re shooting portraits, products, or landscapes, the techniques we’ve covered will help you capture stunning photos that stand out on social media. Remember, great lighting is about observation and practice. Start experimenting with these tips today, and don’t forget to tag your amazing shots with #SmartphoneLightingMaster!


